
The evolution of mobile screen recording has moved beyond simple video capture; modern content creation demands real-time interactivity and precise visual communication. For educators, software developers, and technical reviewers, the ability to highlight interface elements dynamically is crucial. AZ Screen Recorder addresses this need through its Magic Brush feature, a sophisticated overlay tool that allows users to draw, mark, and annotate directly on the screen during the recording process.
This article provides a deep technical dive into enabling, configuring, and deploying the Magic Brush to elevate the production value of your mobile content without the need for post-production visual effects.

- Description: A high-resolution screenshot showing the AZ Screen Recorder floating menu with the “Magic Brush” icon (a paintbrush) clearly highlighted or circled.
- Alt Text: AZ Screen Recorder Magic Brush icon location in the floating toolbar interface.
Technical Overview: How the Magic Brush Overlay Works
From a software architecture perspective, the Magic Brush operates as a “System Alert Window” or “Draw Over Other Apps” service. This requires specific Android permissions to function. Unlike post-production editing where graphical elements are rendered into the video file after the fact, the Magic Brush renders a graphical layer in real-time on top of the host application (e.g., a game or a browser).
This real-time rendering is captured by the screen recorder’s encoder (typically H.264 or HEVC), meaning the annotations become a permanent part of the raw video file. This distinction is vital for creators to understand: Magic Brush actions are destructive edits—once recorded, they cannot be removed without cutting the video segment.
Key Technical Capabilities
- Latency: Near-zero input lag for drawing strokes.
- Color Depth: Standard RGB palette support.
- Resource Usage: Minimal CPU overhead, ensuring the frame rate (FPS) of the underlying recording remains stable.

- Description: A technical diagram or split-screen showing the “Draw Over Other Apps” permission setting in Android settings next to the active Magic Brush tool.
- Alt Text: Android system overlay permissions required for AZ Screen Recorder Magic Brush.
Configuring the Magic Brush Toolkit
Before initiating a recording session, it is imperative to configure the tool to match your content’s aesthetic and functional requirements. Improper configuration (e.g., a brush stroke that is too thick or a color that blends into the background) can degrade the viewer experience.
Accessing the Tool
The Magic Brush is not enabled by default in the standard recording widget to conserve screen real estate. It must be toggled via the settings or the floating toolbox.
Customization Parameters
- Brush Size (Stroke Width): This determines the pixel width of the drawing line. A lower pixel count suggests precision (good for text), while a higher count is suitable for highlighting large areas.
- Color Palette: Users can select from a spectrum of high-contrast colors. For technical tutorials, Red (#FF0000) or Cyan (#00FFFF) are recommended for maximum visibility against white or dark mode interfaces respectively.
- Undo/Redo Stack: The tool maintains a temporary cache of actions, allowing creators to undo the last stroke instantly.
-
Feature Technical Specification Recommended Use Case Stroke Width Variable (1px – 20px approx.) Use Thin for writing text; Thick for circling UI buttons. Color Selection Standard RGB Selector Red/Yellow for attention; Green for validation. Erase Function Boolean (Delete/Clear All) Rapidly clearing the screen between distinct tutorial steps. 
- Description: A close-up screenshot of the Magic Brush configuration bar at the bottom of the screen, showing the slider for size adjustment and the color picker palette open.
- Alt Text: Configuring brush size and color palette in AZ Screen Recorder.
Step-by-Step Implementation Guide
To utilize the Magic Brush effectively during a live recording session, follow this precise workflow.
Phase 1: Pre-Recording Setup
- Launch the AZ Screen Recorder application.
- Navigate to the Settings gear icon.
- Scroll to the Recording Toolbox section.
- Toggle the switch for Brush to the “ON” position.
- Note: If prompted, grant the “Display over other apps” permission in your Android system settings.
Phase 2: Active Recording Deployment
- Start your screen recording (ensure your Resolution is set to 1080p and Bitrate is at least 8 Mbps for clarity).
- Tap the Floating Toolbar icon.
- Select the Toolbox icon (often represented by a wrench and camera).
- Tap the Brush icon. A drawing toolbar will appear at the bottom of the screen.
- To Draw: Simply drag your finger across the screen. Touch input is now intercepted by the overlay, not the app beneath it.
- To Interact with the App: You must toggle the “Eye” or “X” icon on the brush toolbar to disable drawing mode temporarily. This returns touch control to the underlying application.

- Description: A sequential three-panel image showing: 1. Tapping the toolbox, 2. Selecting the brush, 3. Drawing an arrow on a map application.
- Alt Text: Step-by-step workflow for activating and using the Magic Brush during a recording.
Comparative Analysis: Real-Time vs. Post-Production Annotation
Professional creators often debate whether to annotate live or add graphics in post-production software (like Adobe Premiere or DaVinci Resolve). The Magic Brush serves a specific niche.
| Feature | Magic Brush (Real-Time) | Post-Production Editing |
| Workflow Speed | Instant: No rendering time required for effects. | Slow: Requires keyframing and rendering. |
| Precision | Moderate: Depends on finger/stylus accuracy. | High: Pixel-perfect vectors and shapes. |
| System Load | Low: Minimal RAM usage. | N/A: Done on a PC workstation. |
| Flexibility | Rigid: Cannot move or edit the line after recording. | Flexible: Can resize, move, or delete elements. |
| Best For | Live tutorials, quick bug reports, teaching. | High-budget reviews, polished commercials. |
Technical Recommendation: Use the Magic Brush for instructional efficiency. If you are creating a quick guide on “How to clear cache on Android,” the Magic Brush allows you to circle the exact buttons in real-time, significantly reducing the editing workload.
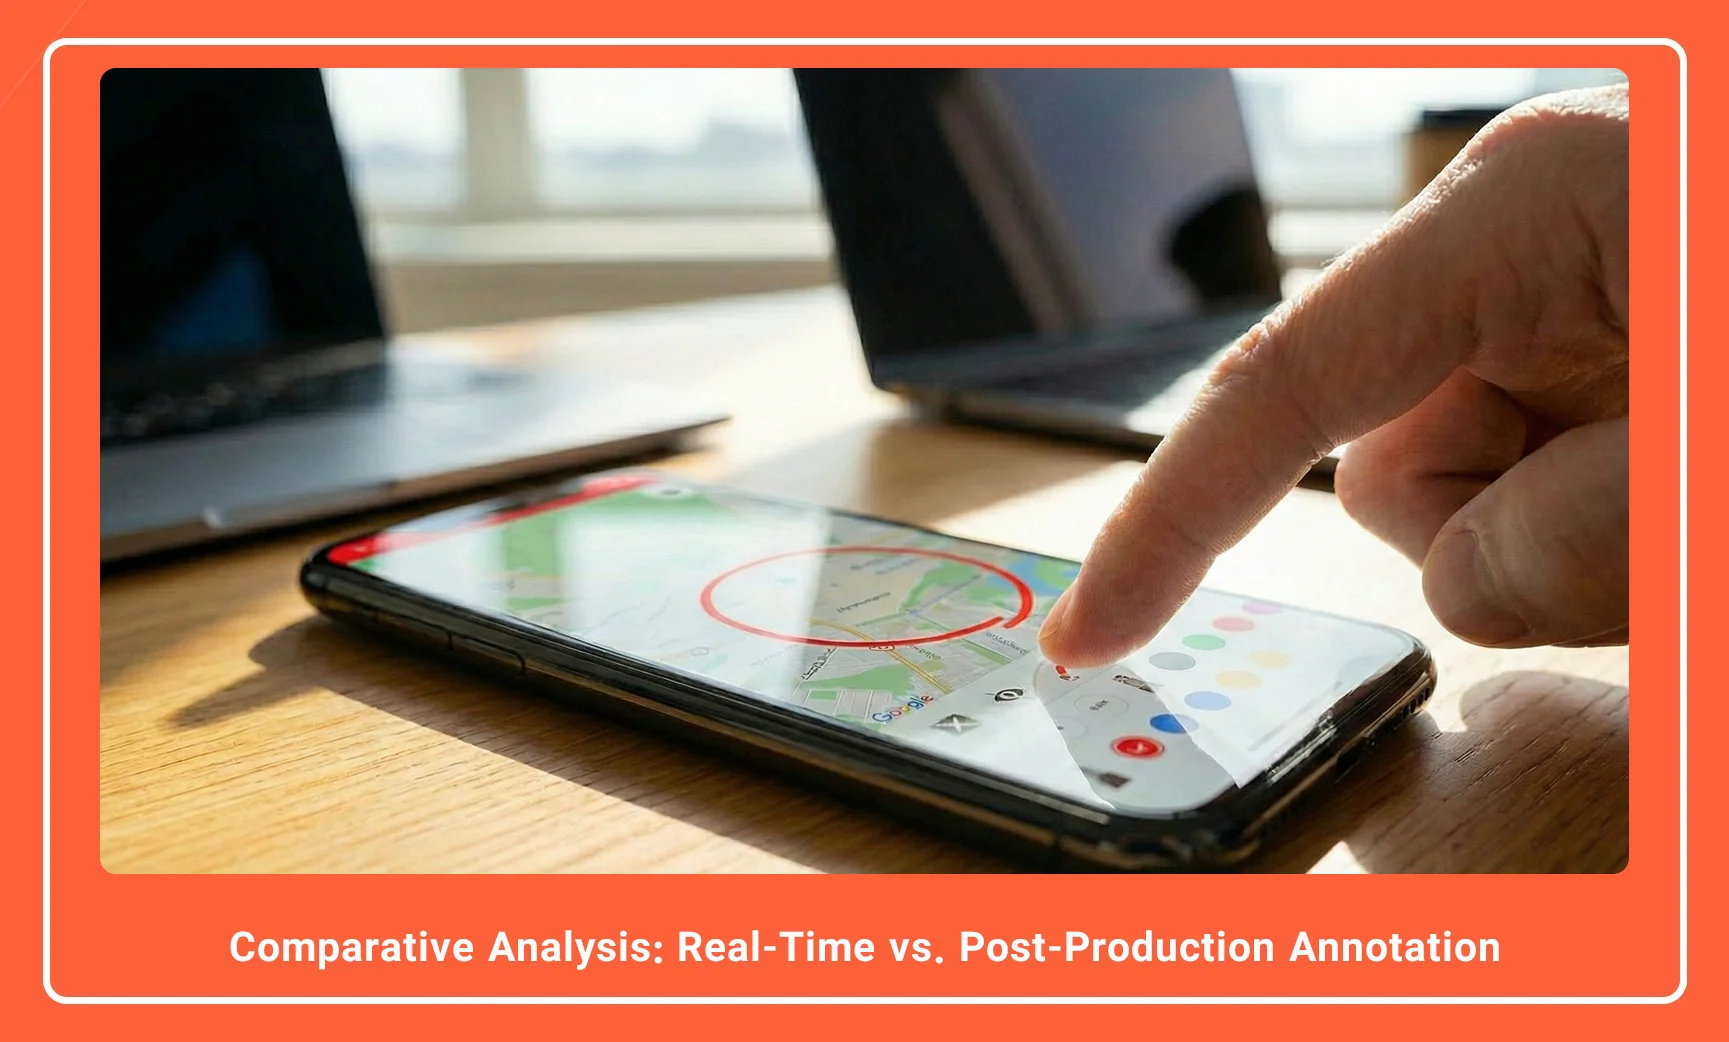
- Description: A split comparison image. Left side: A raw screen recording with a hand-drawn circle. Right side: A polished video editor timeline showing a “shape layer” being added.
- Alt Text: Comparison of real-time Magic Brush annotation versus post-production video editing.
AZ Screen Recorder Full Comparison With 16 Top Apps
Advanced Tips for Professional Output
To maintain a professional standard while using the Magic Brush, consider the following technical tips:
- Stylus Usage: For tablets or phones with stylus support (e.g., Samsung S-Pen), use the stylus for drawing. The capacitive input is far more precise than a finger, allowing for legible handwriting.
- Clean Transitions: Always toggle the brush mode OFF before scrolling or changing screens. Leaving it on creates accidental lines that look unprofessional.
- Bitrate Considerations: Drawing creates high-contrast, fast-moving changes on the screen. Ensure your Bitrate is set to 12 Mbps or higher. Low bitrates can cause “blocking” or pixelation around thin red lines against complex backgrounds due to compression artifacts.
Conclusion
The AZ Screen Recorder Magic Brush is more than a novelty; it is a powerful utility for visual communication. By overlaying a writable interface directly onto the Android system, it bridges the gap between static recording and interactive teaching.
For technical writers and content creators, mastering the toggle between “interaction mode” and “drawing mode” is the key to a fluid video. When combined with correct resolution settings and high-bitrate encoding, the Magic Brush eliminates the need for complex post-production software, streamlining the workflow from capture to publish.
Next Step: Open your AZ Screen Recorder settings now, enable the Brush tool, and practice toggling it on and off while navigating your home screen to build muscle memory before your next recording.
Frequently Asked Questions
-
Does using the Magic Brush affect the recording frame rate (FPS)?
Generally, no. The overlay is lightweight, but on older devices with limited RAM, extensive drawing might cause minor frame drops. Ensure you close background apps to maintain a steady 60 FPS.
-
Can I change the brush color while recording is in progress?
Yes. You can tap the color palette icon on the floating brush toolbar during the recording to switch colors instantly without pausing the video.
-
Why can’t I scroll the screen when the Magic Brush is active?
When the Brush is active, the overlay intercepts all touch inputs as “drawing” commands. You must tap the “X” or “Eye” icon to disable the brush temporarily to scroll or interact with the app.
-
Is the Magic Brush available in the free version of AZ Screen Recorder?
Yes, the basic Magic Brush functionality is available in the free version, though some specific styling options or ad-free experiences may be reserved for the VIP/Pro upgrade.
-
Can I erase a single line, or do I have to clear the whole screen?
The toolkit typically provides an “Undo” button (curved arrow) to remove the last stroke and a “Trash” icon to clear the entire screen. Use the Undo button for precision corrections.
AZ Screen Recorder is one of the most popular and powerful free and professional applications for screen recording on Android devices. Due to its ease of use, high output quality, and a rich set of features, this application has become a standard tool for gamers, educational content creators, and general users.